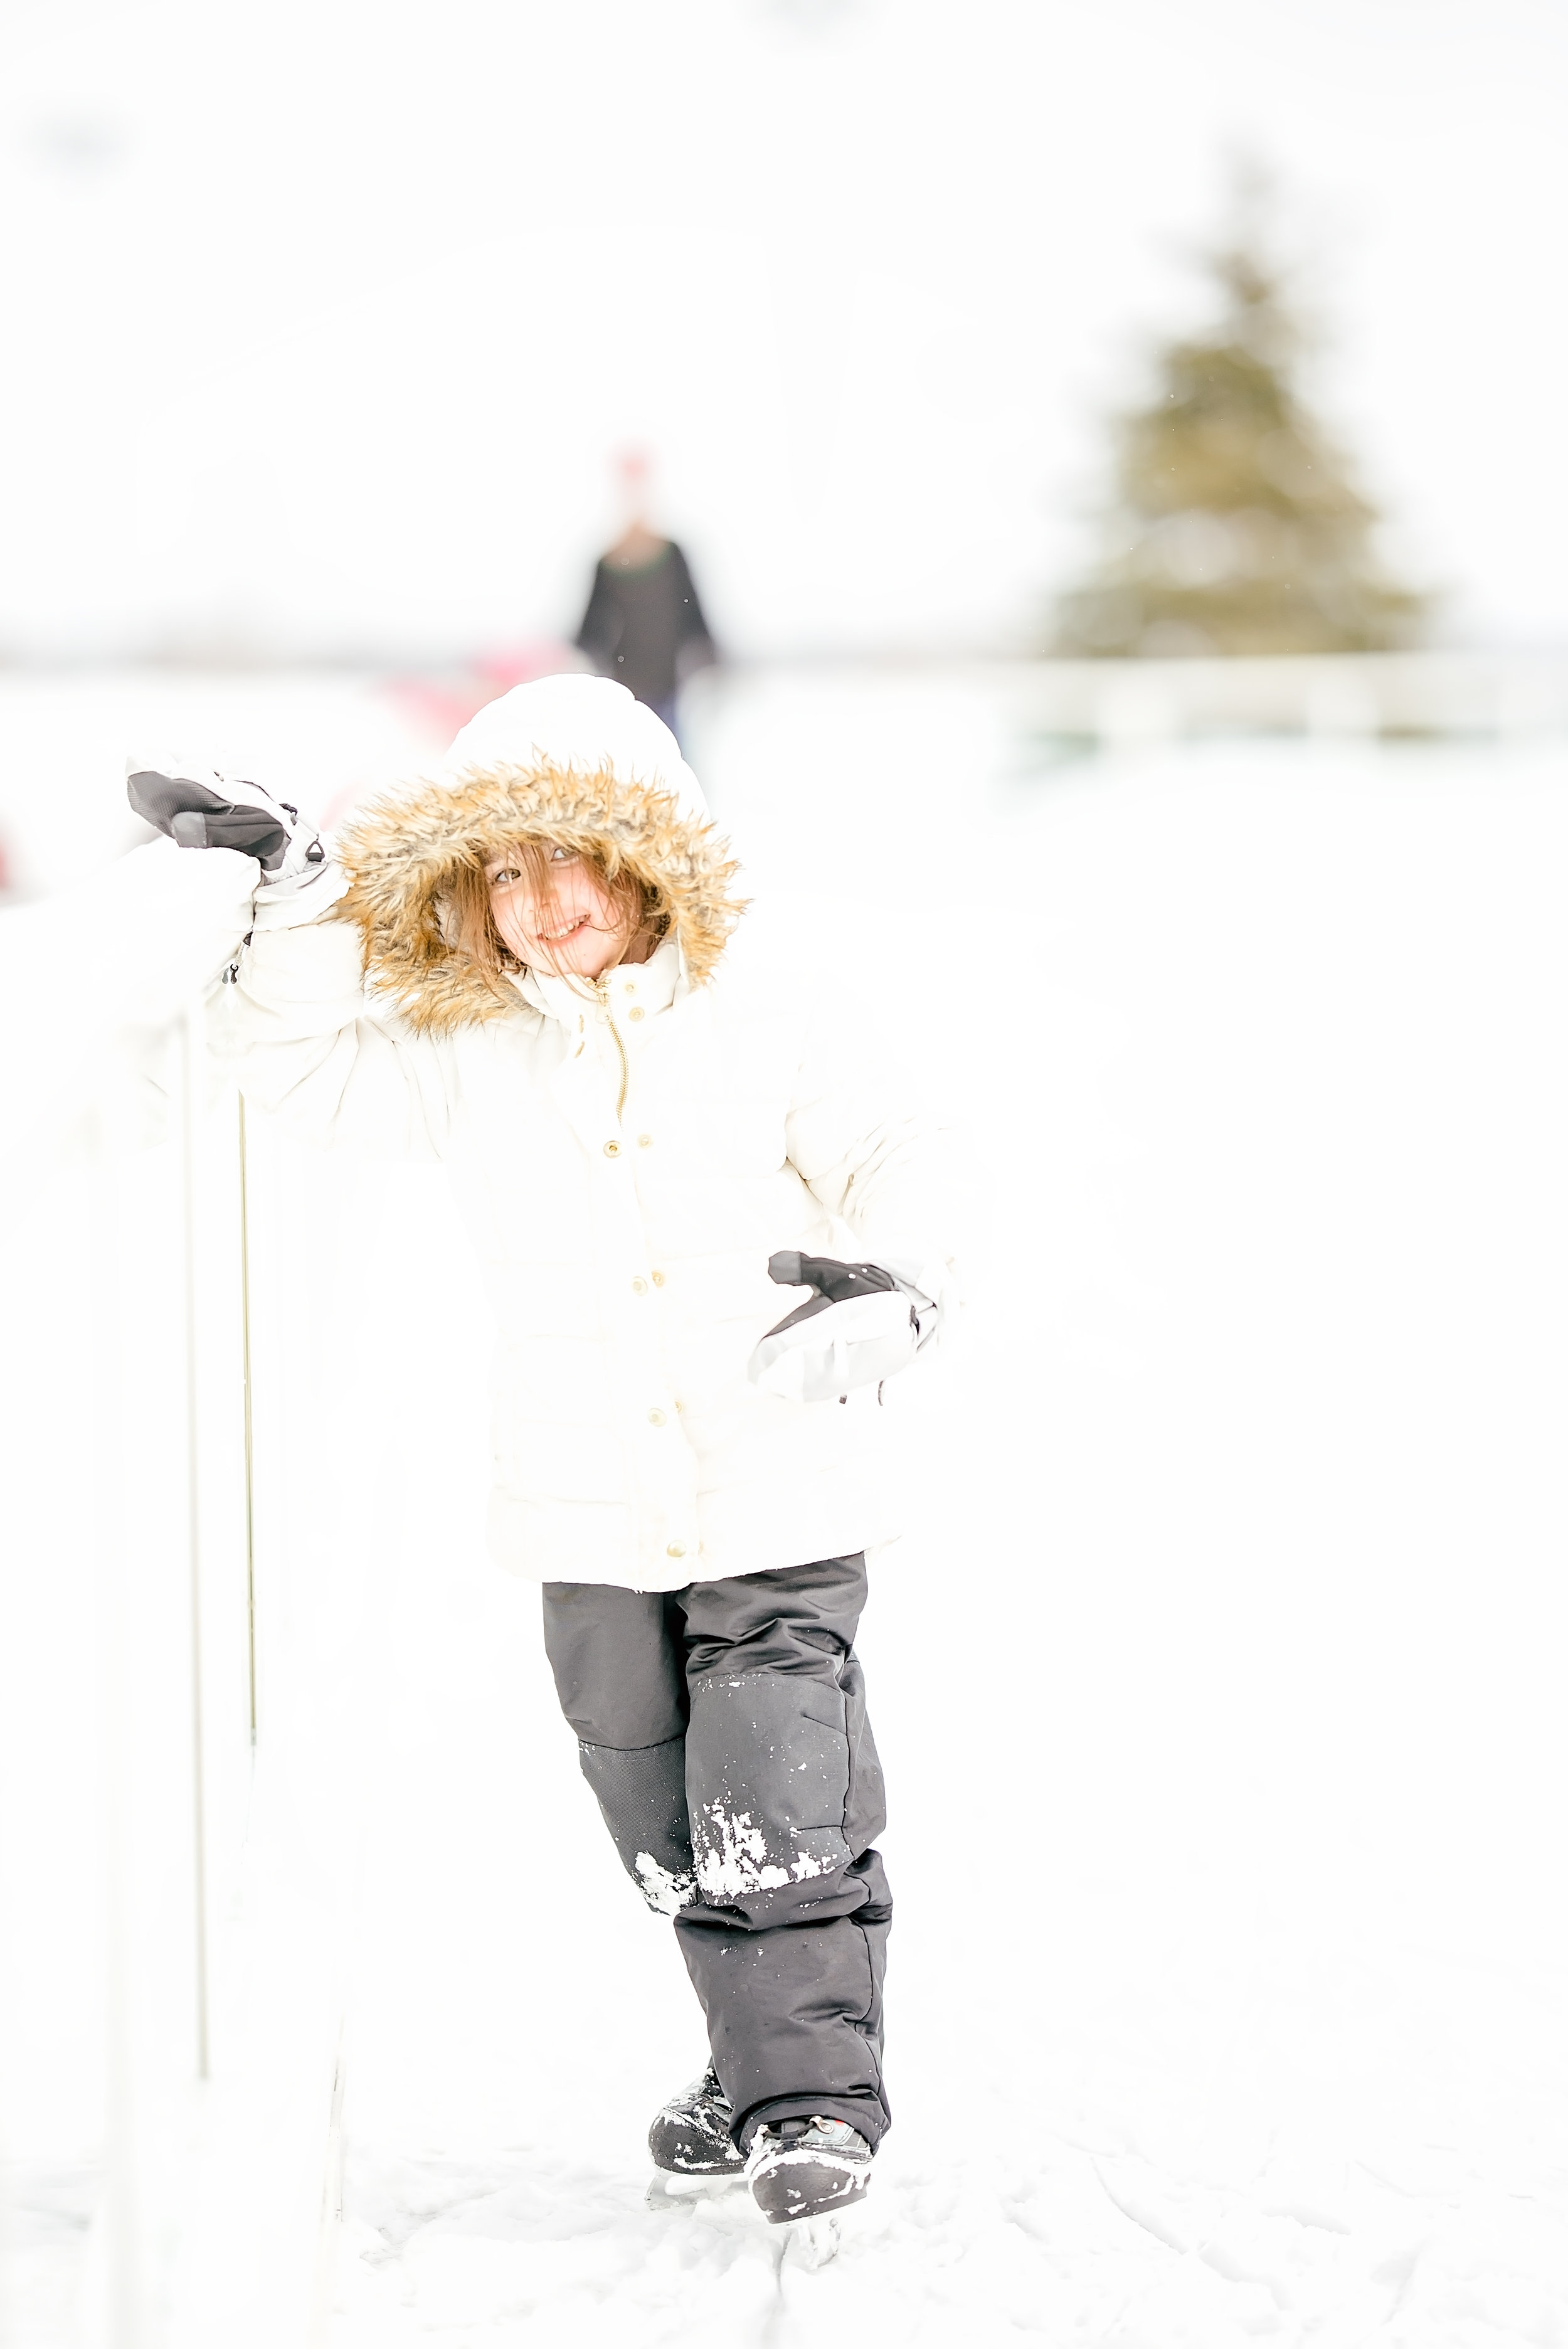
With an extra long weekend, Brad was feeling brave and suggested that we take the kids ice skating for the first time. And by way, when I say we what I really mean just Brad…cuz this momma might be know for wiping out. Also, hanging out in the cold, not really my thing.
With the idea firmly in place, to the rink we went. But before we stepped one skate on the ice, Brad had a serious conversation with the littles. “You are going to fall, and you will be okay.” I’ll let you guess which littles believed him and which ones did not.
Max took to the ice like a duck to water. The girls started our adventure by clinging to the rink wall. About 20 minutes later, Max was flying around the rink…like it ain’t no thang. By the end of our trip, the girls had graduated from stage 5 klingers to shuffling around the rink.
photography tips
Getting that light, airy, look with all the white snow is one of my favorites. I mean look at that beautiful white background. Sounds easy right? Even surrounded by my favorite color, there can still be some challenges.
Light and airy is kinda my thing. Okay, let’s be honest…I LOVE IT. So here is my #1 tip to make your images light and airy. When ever I take any photo, I always look to include the sky. Making sure that the sky is in your photo will help to give the photo a light and airy feel. Even in a white wintery wonderland, I still try to incorperate sky into all of my photos.
So let’s get down to the nitty gritty details of how I shot these photos. To start with…I always, always, always shoot in the manual mode setting in my dslr camera. This way I am able to control and fine tune all of the camera’s features to suit my style. If you are new to manual mode and some of this “camera talk” sounds confusing…that’s okay. There is plenty of free information out there that can help you navigate these waters.
Okay, back to our snowy ice skating photos.
Exposure can be tricky here. The day these photos where taken it was slightly overcast. Even with the sun diffused I still had my camera set at: ISO 160, f/1.8, 1/4000. Other than shooting wide open (at my lowest aperture setting), because I love that creamy bokeh, my camera settings were set to let in just a little bit of light. Had the day been bright and sunny, I may have had some hot spots where my photo was over exposed and I would have lost part of the photo, something I would not be able to recover in editing.
When I bring any photo into Lightroom to edit, I always bump up the shadows slider and bring down the highlights slider slightly. This is how the image stays light and airy. Be careful though, if the shadows are pushed up too far the photo can look washed out and muddy. A little tip if the photo is still too bright…bring down the whites. (How do you know if your photo is too bright? Take a look at the skin tones. If the skin looks too washed out, the photo may be too bright. ) I edit in Adobe Lightroom, however othe photo editing programs also have these same slider tools.
gear used
Nikon D750
Sigma Art 135 1.8
Expodisc
Lightroom


